Contents
Have another version? ILINX version 9.1, ILINX version 9.0, ILINX version 8.6, ILINX version 8.5, ILINX version 8.0, Older versions are included only in the installation package.
About
This document describes the ILINX Capture Mobile system that will be utilized by the end user. This includes capturing documents using a mobile device and assigning metadata or index fields to the documents. Custom branding graphics may be added to the mobile app login screen and home page. Refer to the ILINX Capture Administrator Guide Mobile App section for configurations.
Please see the ILINX Capture Administrator Guide for information on administering the system.
Supported Devices
ILINX Capture Mobile is supported on iPhone and iPad devices running iOS 14 or higher as well as supported on Android 11 and higher on certain devices. For further details, see the ILINX Support Matrix.
Android
Installing
For corporate users, please check with your Administrator to determine the download location used by your Enterprise to acquire the ILINX Capture Mobile app.
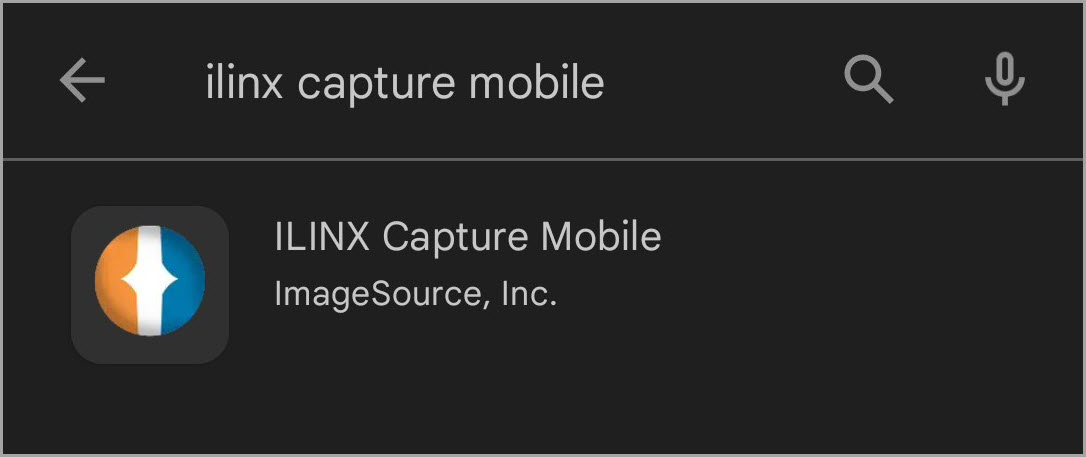
ILINX Capture Mobile is publicly available on the Google Play™ store by searching for ILINX Capture Mobile.
Follow these steps to install on Android:
Step 1: Open the App Store by tapping the icon: ![]()
Step 2: Type “ILINX Capture Mobile” into the search field.
Note: The search field is not case-sensitive
Step 3: Select the “ILINX Capture Mobile” app option. Tap Install.
Opening For the First Time
Step 1: Select the ILINX Mobile icon to open the app.
Note: When prompted to Enable System Settings to use this application, select Enable System Settings and enable the ILINX Mobile system settings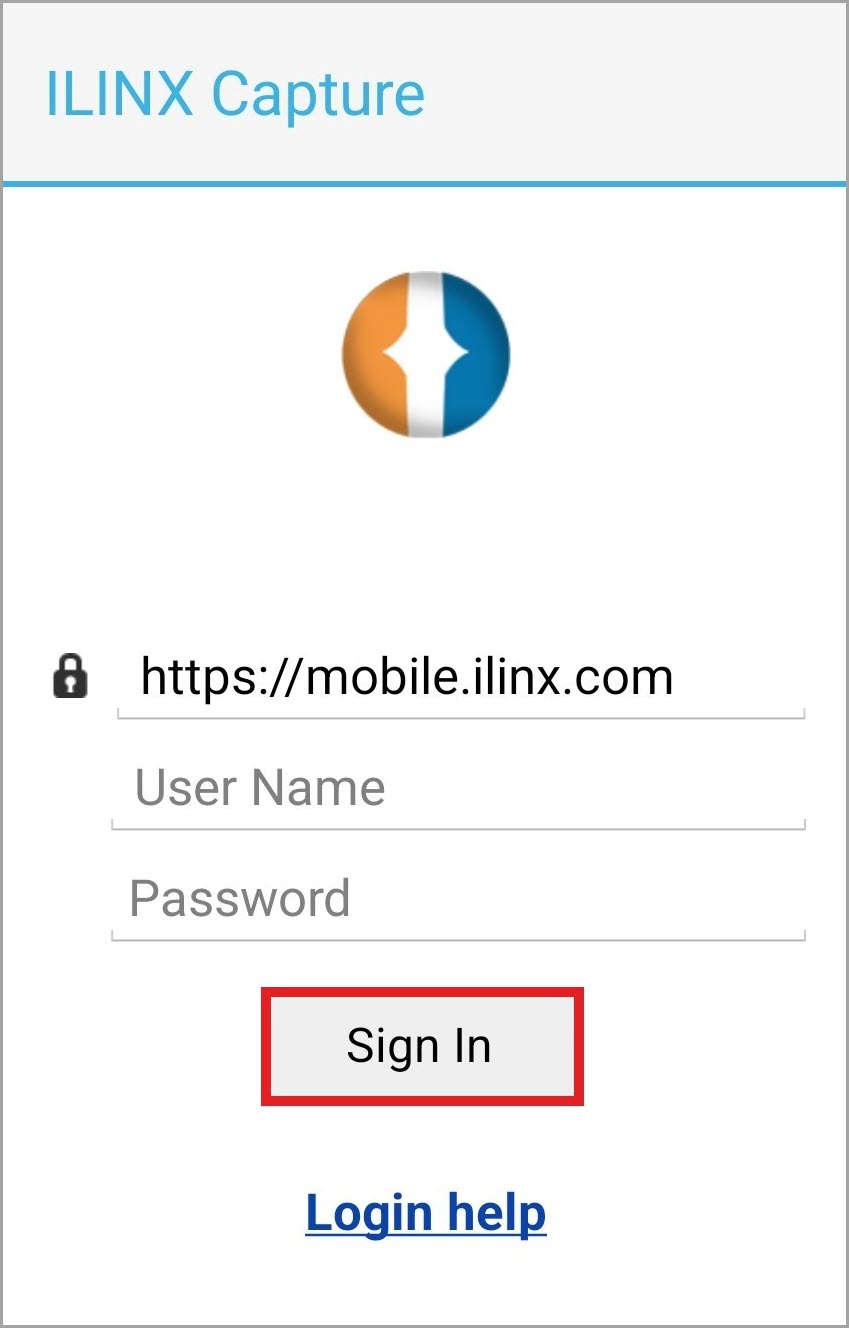
Step 2: The Connect to Server screen will open. Enter the URL for your Enterprise ILINX Capture system. This may be provided by your administrator for logging into ILINX Capture Mobile.
Step 3: Enter your username and password provided by the Administrator.
Note: The username is not case-sensitive; the password is case-sensitive
Note: You must use a built-in or AD user account to sign in to ILINX Capture Mobile. Capture Mobile does not support Azure AD or Okta SAML2 log-ins
Step 4: Tap on the Sign In button to validate your credentials and log in.
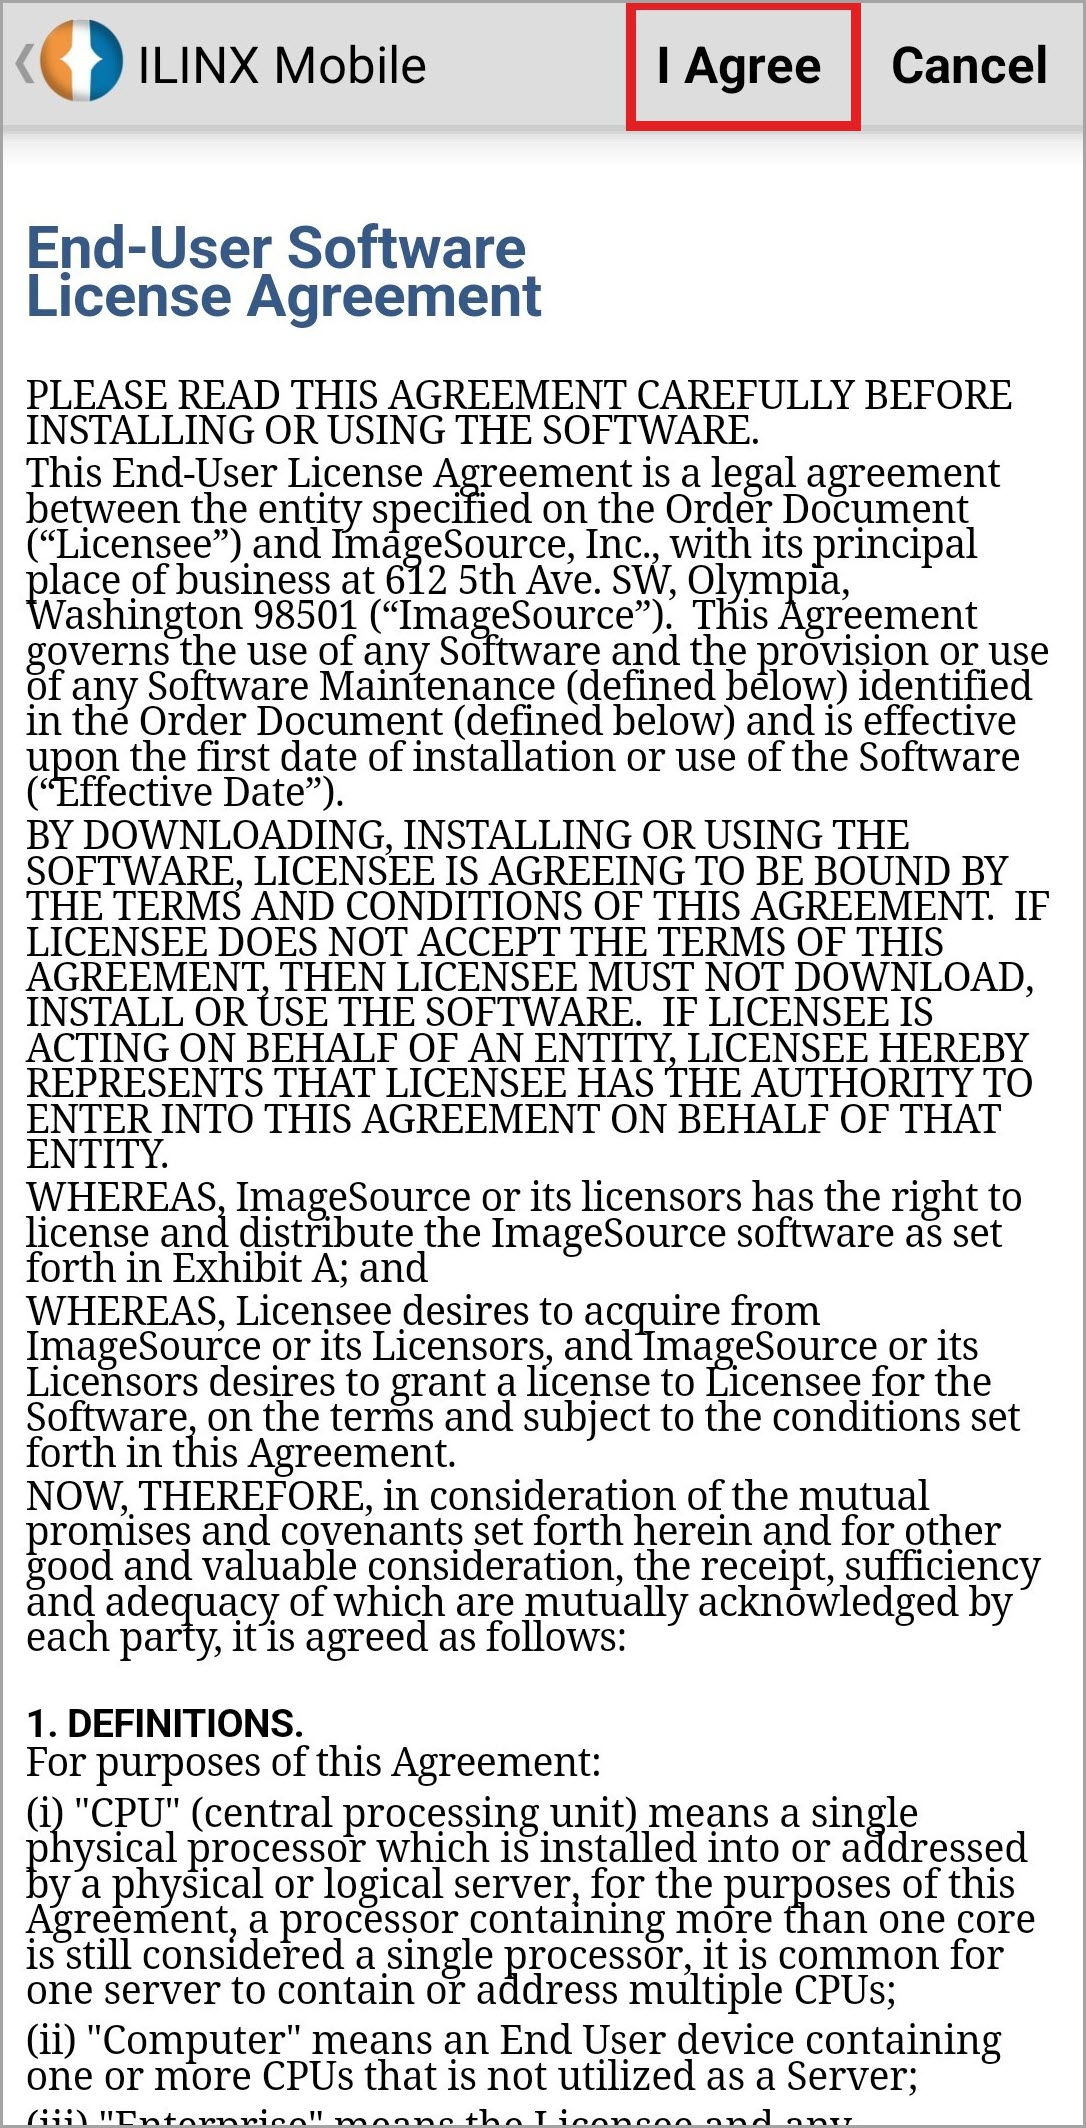
Step 5: Next will open the End-User Software License Agreement. Read through this agreement and select ‘I Agree’ to continue.
Step 6: Next, the Help screen will open to help you to get started. Click ‘Next’ to review each of the Getting Started Help screens. You can refer to these help screens later by going to Settings – Help.
Note: These screens, or any combination of them, will only appear when:
1. The app is newly installed
2. The Enterprise URL has changed
3. Your username or password has changed
Step 7: When prompted to ‘Allow ILINX Capture Mobile to take pictures and record video,’ select While using the app.
Using The App
Capturing & Indexing
Step 1: From the main screen select the appropriate Batch profile and Doc type.
Step 2: Tap the Camera to take a photo, the Video icon to take a video, or the Gallery icon to select a photo previously taken.
Note: Your administrator may have removed the ability to select photos from your gallery from within the ILINX Mobile app
> If you have previously taken a photo, tap the Gallery option, and the gallery will appear for you to select the photo previously taken.
Step 3: If you are taking a new photo, place the document on a flat surface and hold the phone a couple of inches over it, in the portrait position, and level with the document.
Tip: The background the document is on should be flat and provide a good contrast to the document (not white)
Step 4: Slowly raise the camera device until all four edges of the document nearly fill the viewfinder (about 11” above the document).
Note: The default Android camera functions are available, and the flash is set to ‘Off.’ Using the flash often provides the best quality photo
Step 5: Manually focus the document and tap the Camera icon.
Step 6: A preview of the photo will be shown. Select SAVE to open the crop screen. Tapping DISCARD allows you to retake the picture if it is not satisfactory.
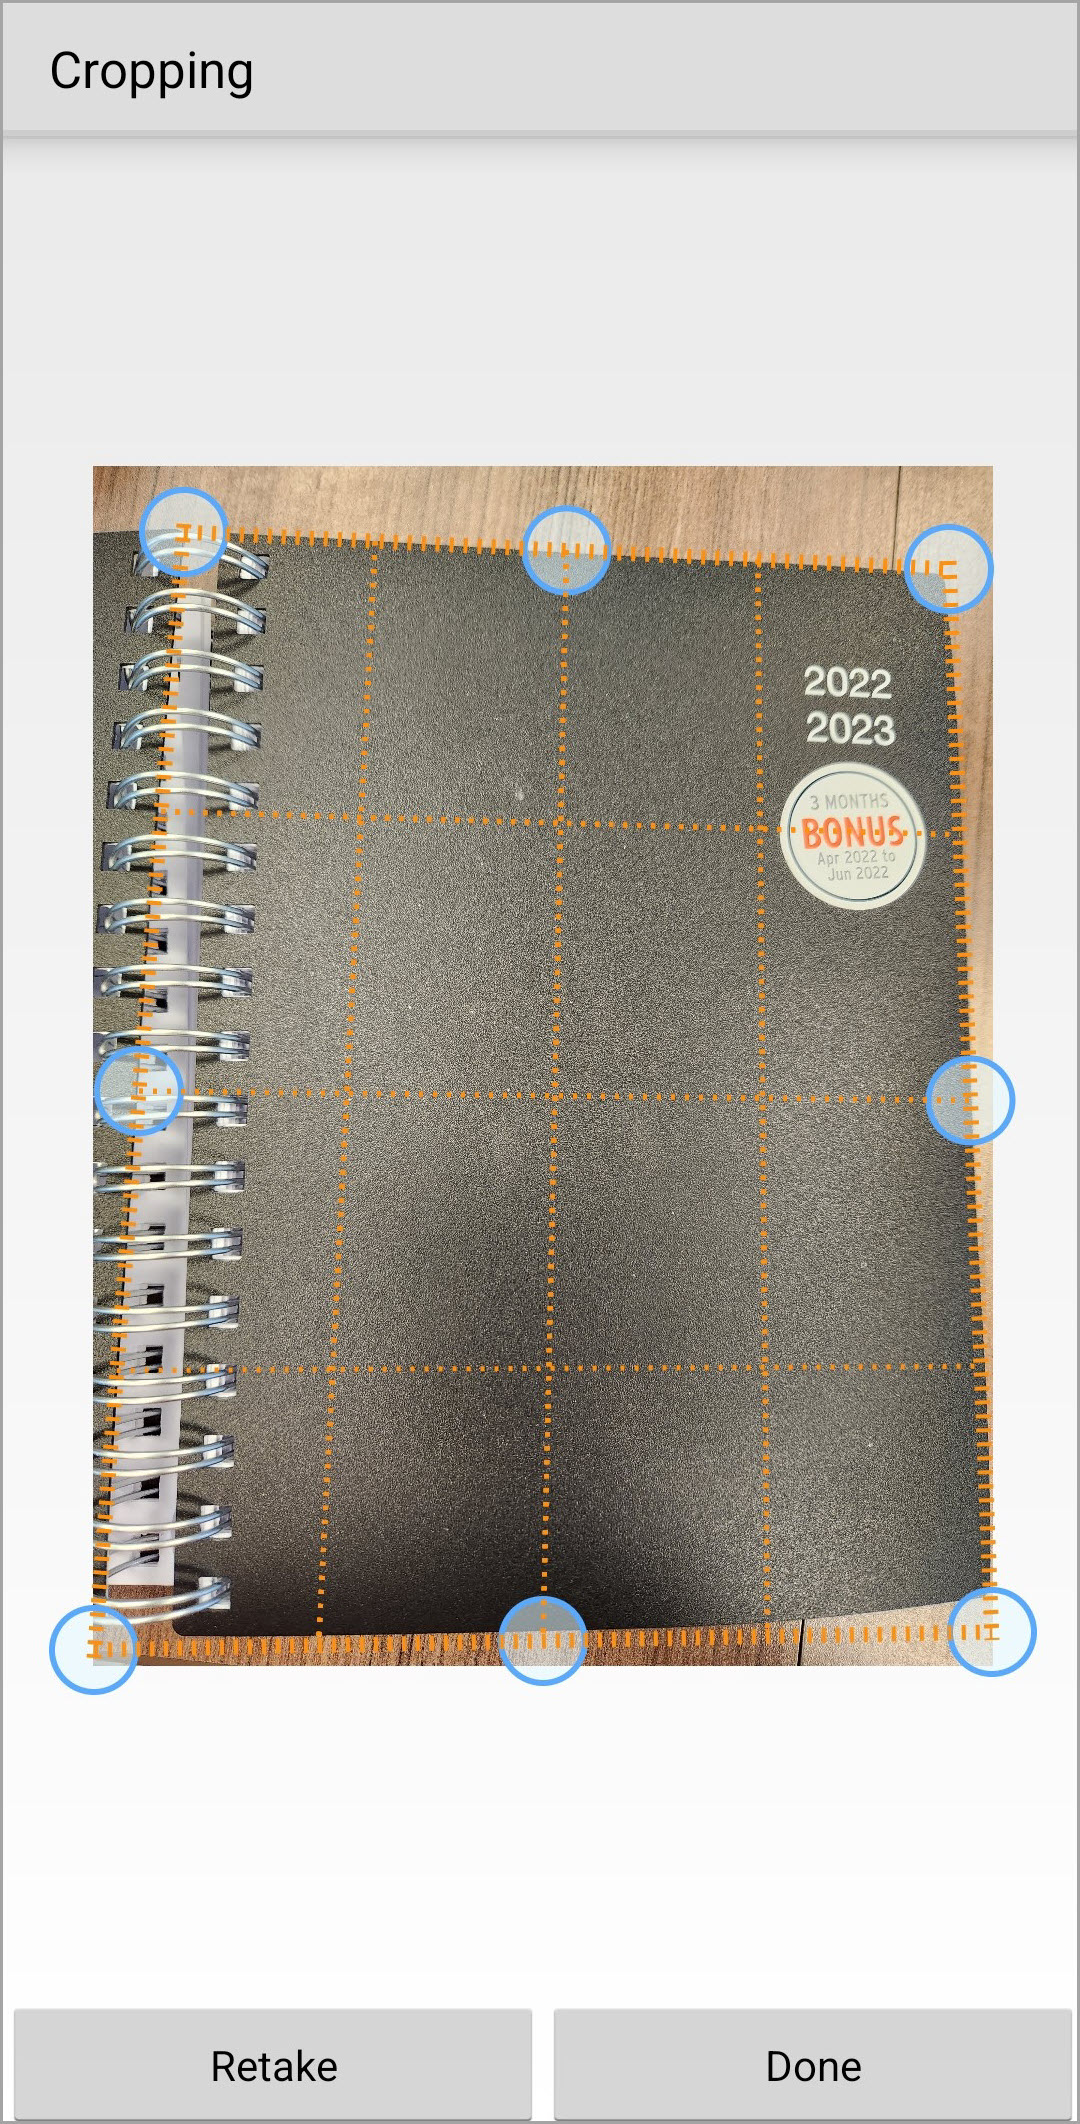
Step 7: The Cropping screen will automatically crop the document. It will also allow you to confirm the auto-crop is correct and make any edits if needed.
Step 8: To edit it, tap any of the circles and drag the border as needed.
Step 9: Select Done when it is acceptable or Retake to take a new photo.
Step 10:The main screen will show all of the images taken as part of the current document.
Step 11: Tap on an image to make any necessary edits, retake the photo, or delete the image.
Step 12:To delete images, tap the trash can at the bottom right of the screen. This will open the Delete screen which gives you the option to delete one or all of the images.
Step 13: Screen Elements:
> Retake – Tap on Retake to open the photo screen
> Next – Tap on Next to open the Indexing screen.
> Redactions – Selecting the Redaction icon and then tapping anywhere on the document will add a default size back square on the document. Tapping the square again will allow you to rotate and adjust sizing as desired.
> Crop – Tap on this icon to open the Cropping screen.
> Rotate – Tap on this icon to rotate the image 90 degrees to the right. Keep tapping to continue rotating in 90-degree increments.
> Trash can – Tap on this icon to delete the photo.
Step 14: Select Save when finished adding an annotation to close the Annotations screen.
Step 15: The Index Fields screen can be opened by selecting Next from the Main screen or by selecting Next from the Edit screen.
Step 16: Screen Elements:
> Submit – Selecting Submit will save and apply all indexes that have been added. Tap here after all metadata has been entered.
> Batch index – Tapping here will expand the batch indexes that are configured for this system.
> Doc index – Below the Batch index field is the Doc index. This title will vary based on the name of the Doc type configured for the Enterprise system. Tapping here will expand the doc-level index fields. These index fields are configured through the Enterprise system.
Note: If you are offline with no cellular or wifi service and indexing cannot be completed you will be prompted to place the batch in the Drafts queue
Outbox
If you are offline when you tap Submit, the application will retain your captured document(s) and their associated metadata in the “Outbox” until you get back online. Submission will be automatically completed when you return online and the application is running.
Step 1: If there are documents in your outbox, the main screen will have an Outbox button, tap it to view the documents.
Step 2: The document will open in the Outbox queue. Once you are back online, the batches will automatically be submitted.
Also, you may select the Submit All option to send them through manually.
Options
Selecting the 3 vertical dots on the main screen will open the Options menu. This menu includes:
> Drafts – This option opens the Drafts screen where batches are stored. This screen is further described in the Drafts section.
> Outbox – This option will open the Outbox screen shown above.
> History – This option will display the history of submitted batches that you capture through Capture Mobile. Each submitted batch will display several system fields including [Batch name], [Confirmation code], and [Status].
> Help – Selecting Help will open the Getting Started You can scroll through the tap Next to review all the screens. At the bottom of the screen is an Info option which will open additional information for the ILINX Capture Mobile software.
> Settings – Selecting this option will open the Settings screen.
- Change Server – Selecting this option will open the same screen that appears when first installing the app. On this screen, you may enter a new URL, username, and/or password/ Tapping Done will validate the credentials and once complete, will open the End-User Software License Agreement.
- About – This option will open the About screen, which displays information such as the Version, Terms of Service, Privacy Statement, and more.
> Sign out – Selecting this option will sign you out and bring you back to the log-in screen.
Drafts
Organizations may set permissions for a Batch Profile that requires content to be entered in an Index field. Within ILINX Capture Mobile if you are offline and there is at least 1 required field, the batch will be moved to Drafts. Unlike the Outbox, batches stored here will not be submitted automatically.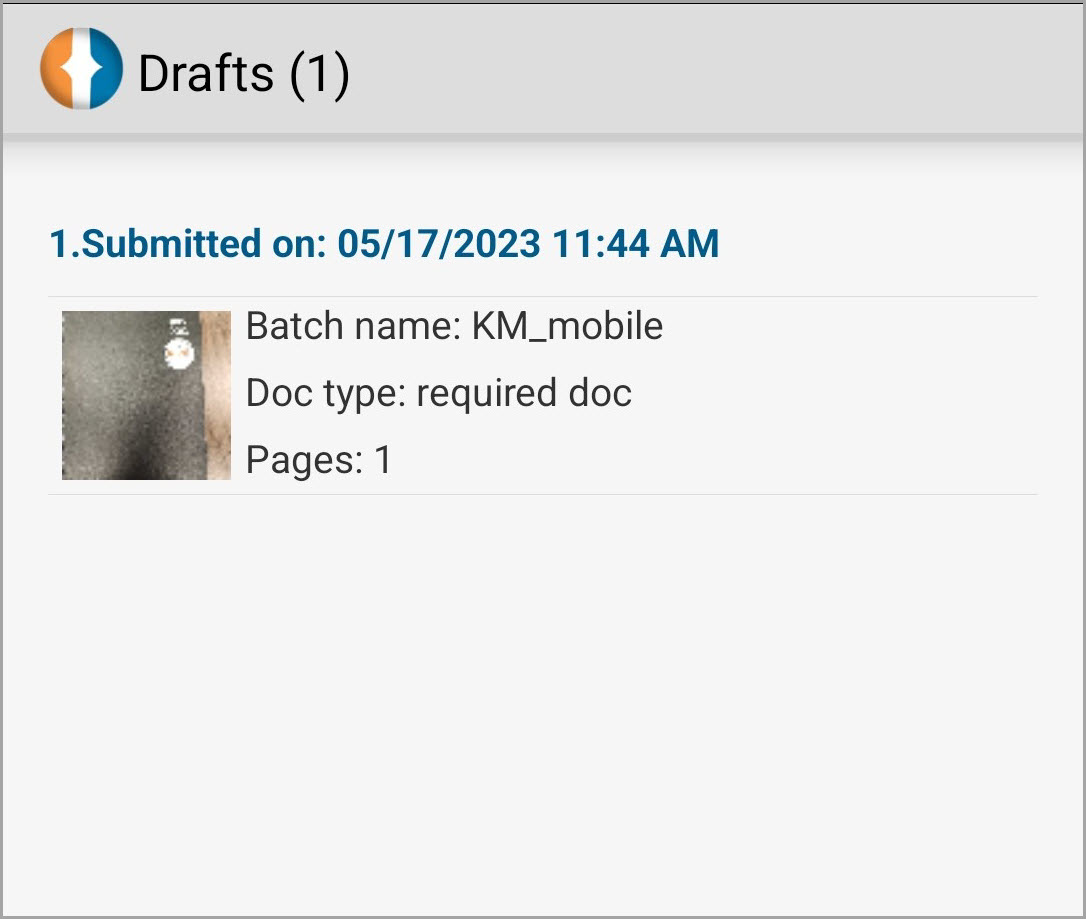
Step 1: To access the Drafts screen, select the ![]() icon from the main screen.
icon from the main screen.
Step 2: Tap the Drafts option from the menu.
Step 3: On the Drafts screen there may be several batches listed that require updating and submitting, tapping on a batch will open the Index Field Screen.
Step 4: Enter the required index fields which are identified by the asterisks (*) and the red outline.
Step 5:Tap the Submit option when finished. If you are online, the batch will be submitted to the Enterprise system. If you are not online, the batch will be stored in the Outbox and automatically submitted when you are back online.
