Have another version? ILINX version 9.1, ILINX version 9.0, ILINX version 8.6, ILINX version 8.5, ILINX version 8.0, Older versions are included only in the installation package.
About
ILINX Capture Email Import enables organizations to easily capture important emails and attachments for compliance or to initiate a workflow from email-based information right from Microsoft Outlook. ILINX Capture Email Import is an Outlook add-in that enables import of emails and attachments directly to a workflow profile in Capture. Focused on ease of use, users simply select one or more emails, right-click, and import them into a workflow.
Note: This guide assumes that the installation of the ILINX Capture product has taken place. If not, please see the ILINX Installation Guide
Administrator Configuration Settings
Email Import settings can be configured within the ‘ILINXEmailImport.dll.config’ file. The keys below allow the administrator to configure an automatic transfer of email properties into Capture document index fields as new emails are onboarded into ILINX Capture. For example, to automatically populate a document index field called “Sender Email Address” with the sender address of the emails you are onboarding through the Outlook Add-In, set the MailFrom parameter as shown:
-
Add key=”MailFrom” value=”<IndexFieldName>” />
You can follow this same approach with the other email properties; MailTo, MailSubject, MailBody, and ReceiveDate.
Note: The MailBody property may yield large index field values, so keep in mind your data type’s max length
Open the file to modify the configuration settings indicated below as necessary:
- MailFrom
- MailTo
- MailSubject
- MailBody
- ReceivedDate
- DisplayIndexingPanelOnStartup
- This key will determine whether the thumbnail panel or the indexing panel will first display when a batch is created.
- AllowBatchToBeSubmittedWithLoosePages
- This key will allow batches created from Email Import to be submitted with loose pages if the value is set to “True.”
- SetDefaultPageToDisplayForDocType
- This key will allow the admin user to determine the default document page that will display in the viewer when Email Import is opened. Formatting for this key is displayed in the comments present in the config file.
- ShouldPutEmailBodyAsFirstItem
- This key will put the Email’s page as the first page in the document when the value is set to “true.” If false, the Email’s page will be put as the last page in the document.
- CaptureHistoryReleased
- This key configures the “Released” value text in the Email Import Capture History’s ‘Status’ field.
- CaptureHistoryInProcess
- This key configures the “In Process” value text in the Email Import Capture History’s ‘Status’ field.
- CaptureHistoryDeleted
- This key configures the “Deleted” value text in the Email Import Capture History’s ‘Status’ field.
- DisableScanningOptionForMaxAllowablePages
- This key will disable the ability to scan documents for maximum allowable pages.
- CollapseDocWhenClassifying
- The key will collapse newly created docs from added loose pages when the value is set to “true.”
- ShowScannedImagesWhileScanning
- This key will show scanned images in the Email Import UI while scanning when this value is set to “true.”
- KeepScanningSessionInMemory
- This key will cache the scanning sessions from Email Import while this value is set to “true.”
- ShouldCopyIndexFieldsToNewDoc
- This key will copy doc index fields to newly imported docs when this value is set to “true.”
- ShowCustomBatchFieldInSubmittedHistory
- This key will show a desired custom batch index field in the batch history on the Capture Tab.
- IncludeMsgFile
- This key will add the raw email (eml/msg) file to a new batch if the value is set to “True.”
- ConvertToPdf
- This key will convert the imported email to a PDF file when this value is set to “True.”
At least one of the two previous settings must be set to True. If both parameters are set to false, you will receive an error indicating that “The config file has incorrect settings…”
Using Email Import
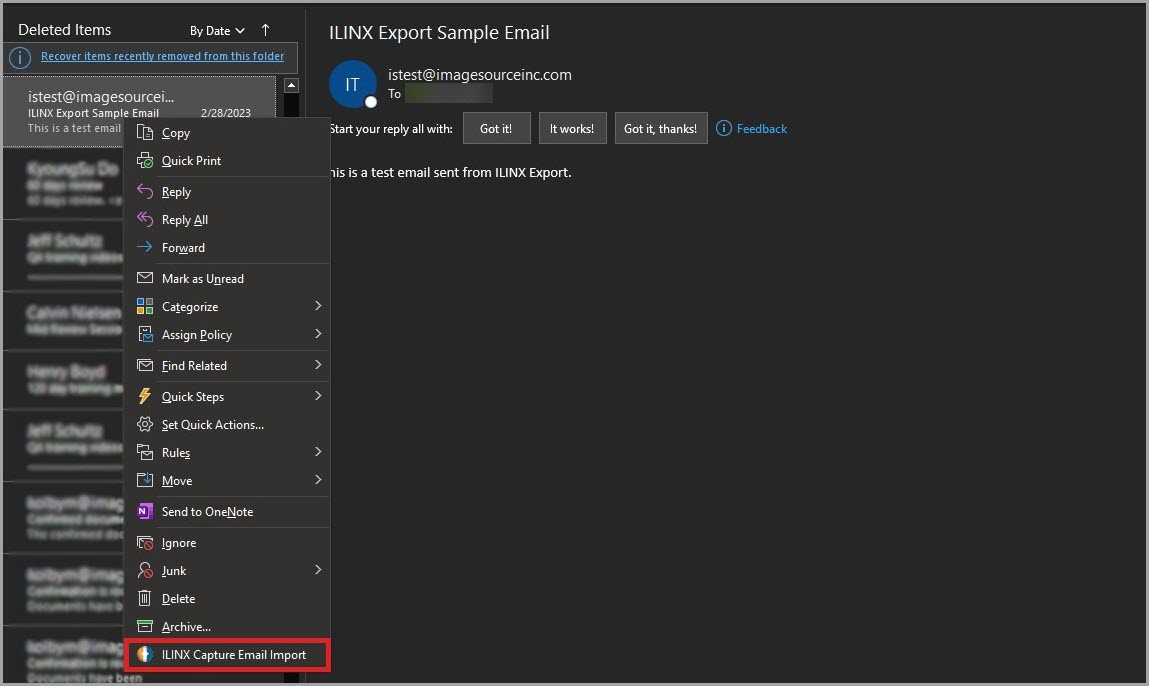
To import an email into Capture, Right-click on the desired email and select the ‘ILINX Capture Email Import’ Add-In.
Note: ILINX Capture Email Import will continue to work with classic Outlook
Note: To determine which version of Outlook you are using, if your version has a File tab on the ribbon, then you are using the classic version. The new version does not have File tab
After selecting the Add-In, log in with your ILINX user credentials and select which batch profile and document type the email will be imported to.
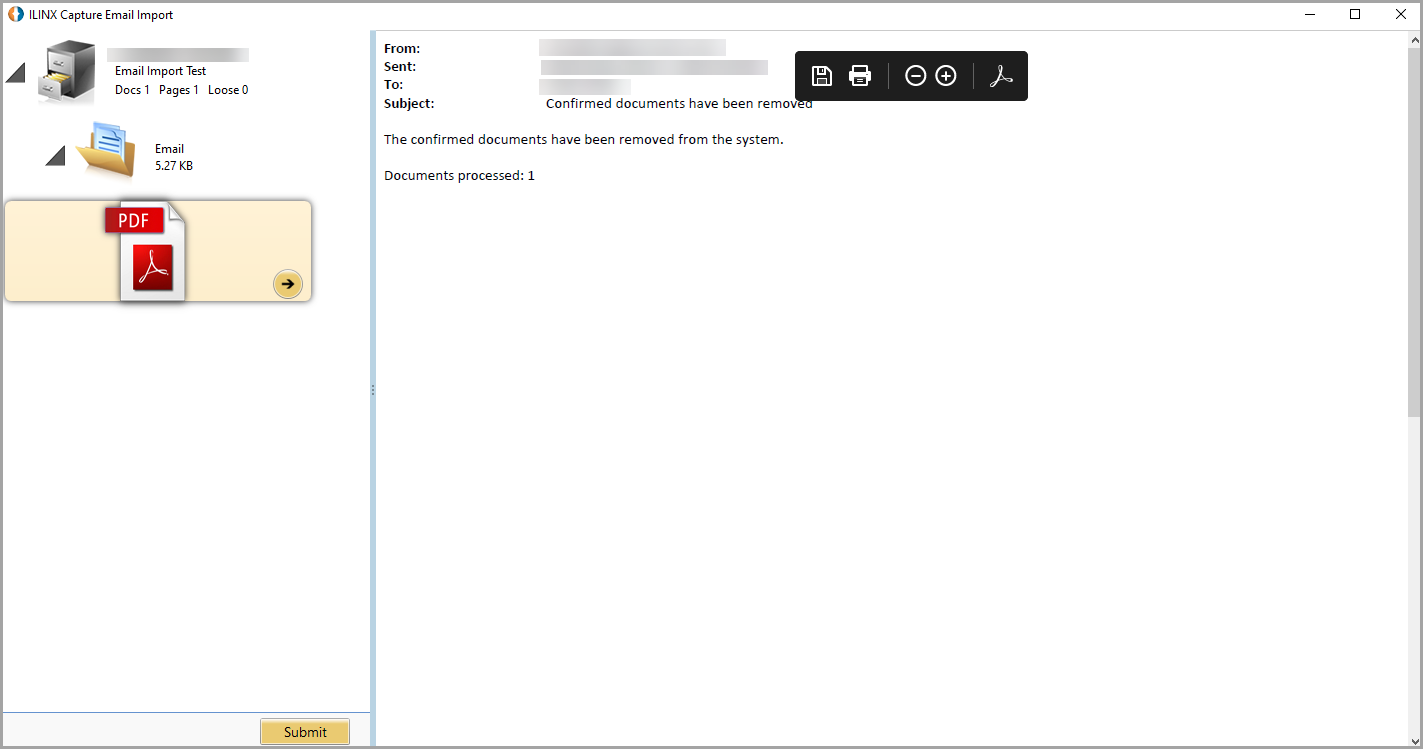
As shown in the figure above, the email will be imported as a PDF page while the ‘ConvertToPdf’ key is set to “true” in the config file. If this setting is set to “false,” the ‘IncludeMsgFile’ key must be set to “true,” otherwise an error will occur.
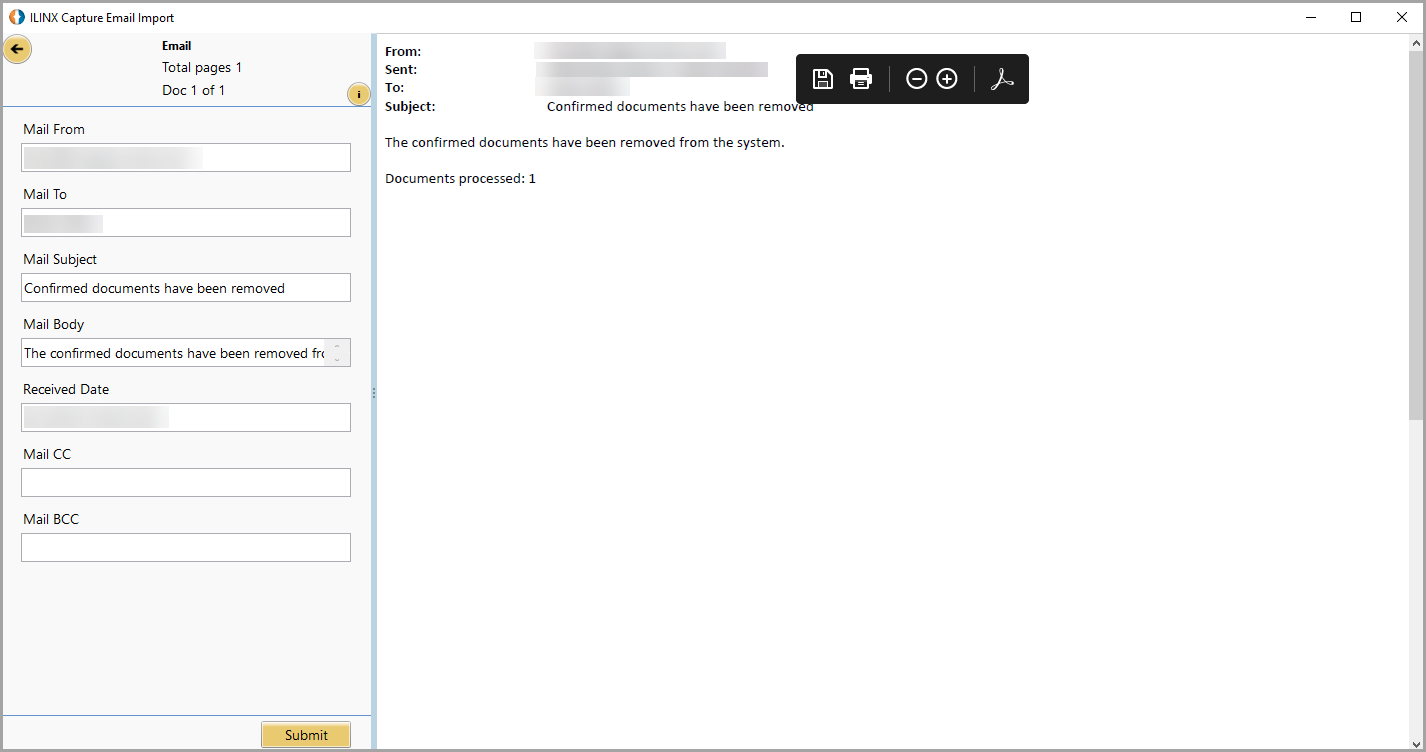
The figure above shows the index panel. Each of the document index fields has been mapped to the respective keys in the config file, and the email information has been inserted into those fields.